Node.js is a JavaScript runtime environment designed with easy web server creation in mind, it also has great libraries (like Express.js) to make it even more convenient. With Node.js, you can quickly accept GET requests with few lines of code.
In this tutorial, you’ll be taught how to receive GET requests in Node.js the easy way, with the help of Express.js and the body-parser library.
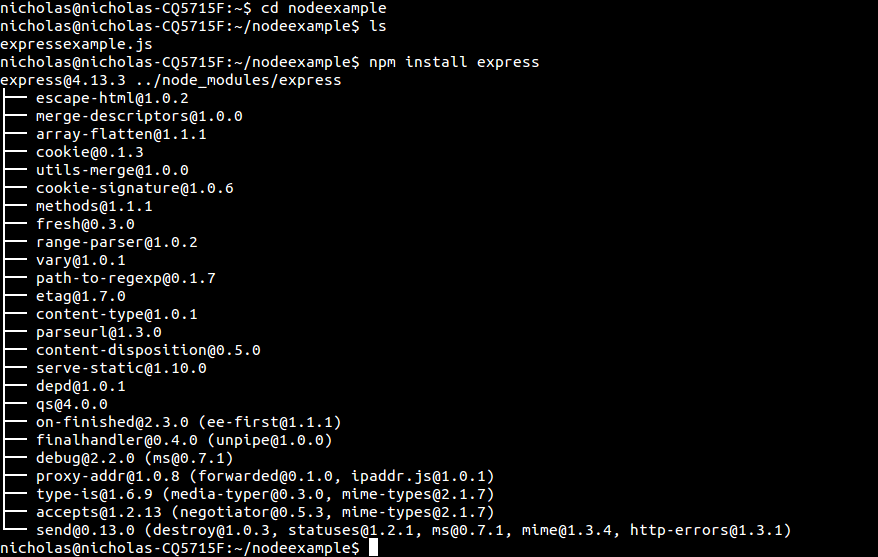
The first step: If you haven’t already, cd to your project’s directory (wherever you are going to put your Node.js code) and install Express.js using the Node package manager (NPM) at a command prompt (this applies to both Windows and Linux).

Example Code: Receiving GET Request Data In Node.js
//Import the necessary libraries/declare the necessary objects
var myExpress = require("express");
var myParser = require("body-parser");
var app = express();

  app.use(myParser.urlencoded({extended : true}));
  app.get("/yourpath", function(request, response) {
    console.log(request.params); /* This prints the  JSON document received (if it is a JSON document) */
});

//Start the server and make it listen for connections on port 8080

app.listen(8080);
You could have also typed console.log(request.body.yourFieldName);
This is where body-parser comes in handy. It lets you parse JSON documents in GET requests easily. yourFieldName would be the name of the field in your HTML form, not the id.
If you typed ‘Nicholas’ in yourFieldName in the HTML form you submitted, the second console.log line will just print ‘Nicholas’ without any symbols or JSON, so you can insert that straight into your database.
To respond to GET requests, simply type response.send(“Whatever string or other variable you want to send goes here“); inside of the function written in app.get.
The resulting code will be (with minor modifications to better reflect reality):
var myExpress = require("express");
var myParser = require("body-parser");
var app = express();

  app.use(myParser.urlencoded({extended : true}));
  app.get("/sendmessage", function(request, response) {
    console.log(request.yourFieldName);
    response.send("Message received.");
});

app.listen(8080);
If you’re receiving a JSON object or JSON array in the GET request, you may need to change myParser.urlencoded to myParser.json.


