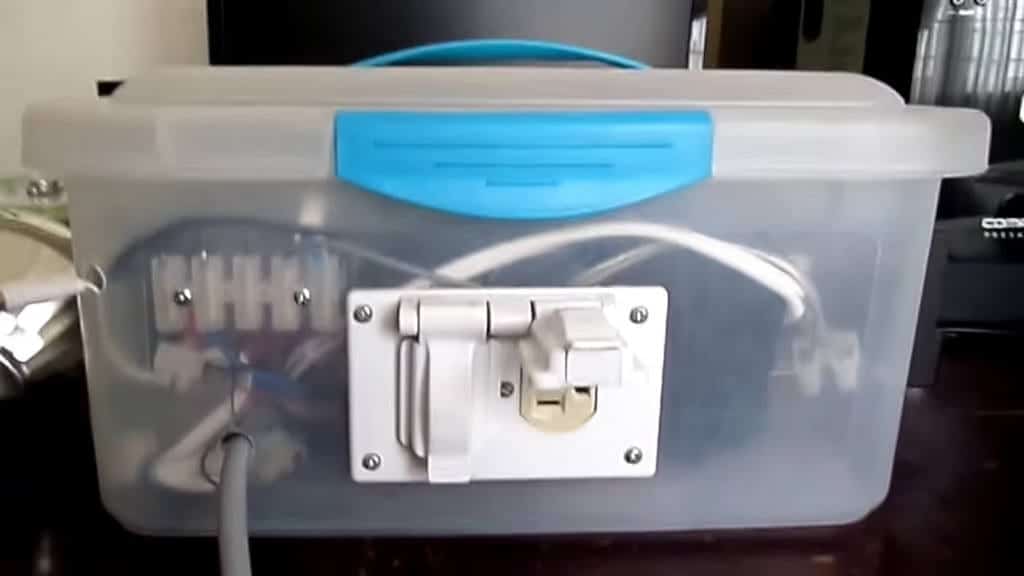
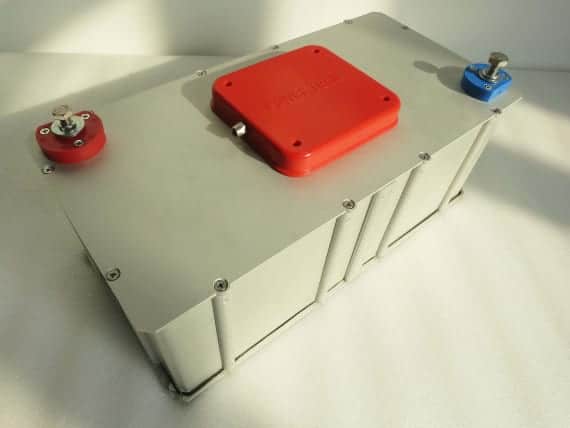
I built a plug and play solar system concept that integrates the necessary inverter, charge controller, battery, 12 Volt solar input, 120 Volt power outlets, and transfer switch to make the installation of solar systems as easy, quick, and cheap as possible.
Main objective: Minimize the amount of labour required during solar system installation by completing most of the assembly process in a factory instead. Currently, solar system installation involves the construction of mounting equipment on-site, and this costs thousands of dollars. Cutting out a chunk of that massive expense could surely make solar systems more accessible to the public. Everything you see in the included video can be assembled in a highly-automated factory.
How It Works: You clip a 12 Volt solar panel’s wires to the solar power input, and it just works. It keeps the battery charged, appliances can be plugged directly into it, it can be scaled up and plugged into a household generator power inlet, it switches from the battery to the electricity grid if there is a shortfall in generation capacity or an overload — Great for cloudy days. I built the transfer switch using a few parts, including a Silicon Labs EFM8UB1 MCU kit, TIP122 darlington transistor, a 12 kOhm resistor, and an 8-pin relay.
The transfer switch utilizes the EFM8UB1 microcontroller‘s analog-to-digital converter (ADC) and a timer to monitor the battery voltage and switch appliances to the grid if necessary, as stated above.
It is also equipped with an HQRP 10 amp charge controller, which disconnects the solar panel when the battery is finished charging to prevent overcharging.
Upcoming features:
– Battery health monitoring and optimization (for lead-acid batteries only).
– The option to disconnect all solar panels from the system right from their junction boxes with the press of a button in the event of a fire, or if someone needs to work on the system. This could help to reduce the risk of electric shock for firefighters, electricians, and roofing contractors.


